Sometimes the traveling season is all year round, sometimes you need your passport to use as an ID. The most important thing to remember is that it is valid. In this case, the first thing to take care of, preferably, would be a passport picture. There are more than a few ways to go about this subject, but an important thing to remember is that you can take your photo fully by yourself at home. Read our article below to find out how.

US passport photo regulations to take your passport picture at home
The first thing to keep in mind is that there are a lot of different rules and regulations for a passport photo, officially established by the US passport office. We’ve summed them up for you below and divided them into helpful sections.
The distance from the camera
It’s important to maintain a proper distance of a minimum of 1,5 meters and a maximum of 3 meters from the camera to yourself. This way you can make sure that your photo is in the right position and that it will be easy to edit without it getting blurred.

The resolution
The resolution shouldn’t be less than 600dpi and more than 1200dpi. This means that you can probably even use your own phone camera to take your new passport photo, as most phones today maintain such quality.
Lighting and background
It’s good to remember that natural lighting is preferred. Avoid shadows and bright patches and you should do just fine. Make sure that the lighting in the room you’re taking your photo shows your whole face and your eyes in natural colors.
When it comes to the background, it should be of a white or an off-white color, avoiding patterns. You need to be sure that no other objects and people are visible in your background.
Your clothing and your positioning
Here are some clothing rules on a typical passport photo:
- Avoid bright patterns and logos
- Don’t wear military patterns
- Sunglasses and colored lenses are not allowed, you can wear prescription glasses as long as they don’t obscure your facial features
- Don’t wear any big jewelry
- Hats and other head coverings are not allowed unless you wear them every day for religious or medical reasons
- Avoid heavy make-up as the photo has to show the natural, every day you.
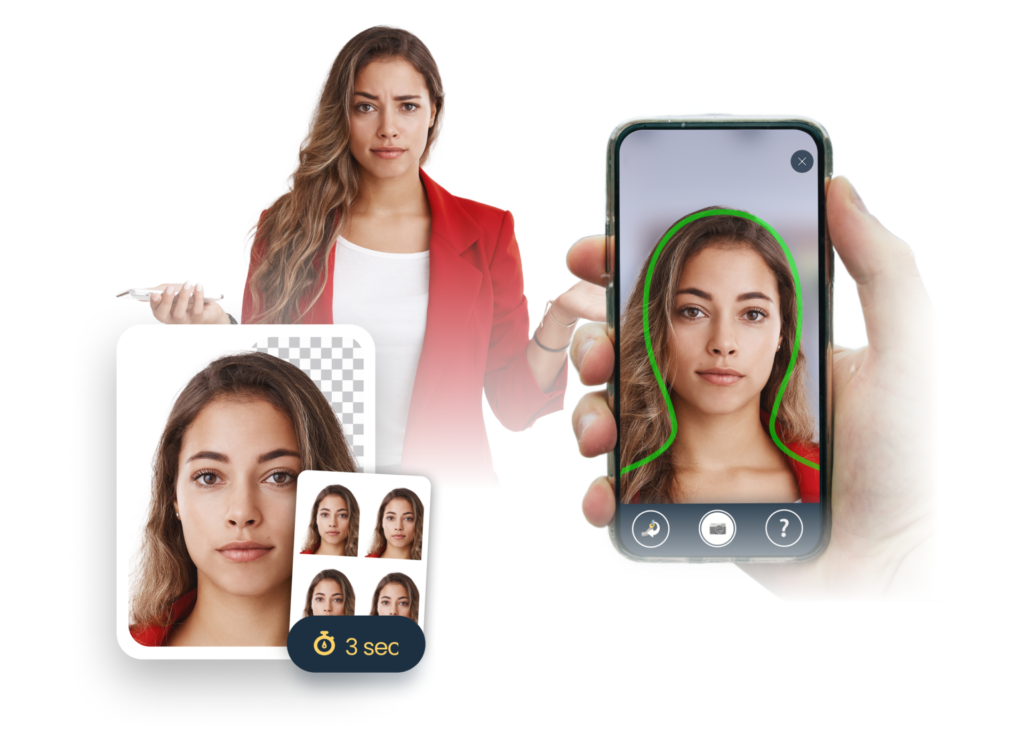
When it comes to your positioning, just make sure to keep your head straight and look into the camera. Relax your shoulders, open your eyes, and close your mouth. Try not to smile, don’t frown – neutral expressions are preferred.
Step-by-step of taking your passport photo
- Prepare yourself – follow the clothing rules closely to avoid a mistake. Get comfortable.
- Prop your camera at the right distance from yourself.
- Take your picture. You can use the help of a friend or a tripod.
- Edit your picture according to the passport office’s guidelines.
- Print your picture on photo-quality paper.
- Cut your picture from a larger template and submit it with your application.
The don’ts of taking a passport photo at home
In addition, we completed a list of situations and things that usually have passport photos rejected:
- Ink smudges or tears in the photo
- Tilting or turning your head
- Background of a different color than white
- Glasses obscuring facial features
- Head cut at the top or the bottom of the picture.
Taking passport photos at home summed up
As you can see, taking passport photos at home is rather an easy task. All you need to do is be aware of the official rules and regulations for a passport photo in your country and follow them. Remember that you shouldn’t take a selfie and that it’s good to ask another person for help. Follow our guide to learn a bit more and go get your pictures.

